Removing old wallpaper can seem like a daunting task, but with the right tools and techniques, it can be done efficiently and safely. Whether you are a DIY enthusiast or a homeowner looking to refresh the look of your walls, understanding the process is crucial. In this article, we’ll guide you through the steps to safely remove old wallpaper and properly prepare your walls for a fresh coat of paint.
Gathering the Necessary Tools and Materials
Before you start removing wallpaper, it’s important to gather all the necessary tools and materials. Here’s a comprehensive list of what you’ll need:
- Wallpaper scoring tool
- Wallpaper steamer or spray bottle
- Scraper or putty knife
- Drop cloths or plastic sheeting
- Protective gloves
- Eye protection
- Warm water
- Wallpaper removal solution or fabric softener
- Sponge or cloth
- Step ladder
- Sandpaper
- Drywall patch and repair kit
- Primer
- Paint tools and paint
Preparing the Room
Preparation is key to making the wallpaper removal process as smooth as possible. Start by ensuring the room is ready:
- Remove all furniture and decorations from the room to create ample workspace.
- Cover the floors with drop cloths or plastic sheeting to protect them from water and debris.
- Switch off the electrical power to the room and remove any outlet covers and switch plates.
- Wear protective gear such as gloves and eye protection to safeguard yourself from potential harm.
Using a Wallpaper Scoring Tool
Before applying any liquids, use a wallpaper scoring tool to create small perforations in the wallpaper. These perforations will allow water or wallpaper removal solutions to penetrate the wallpaper, making it easier to remove:
- Hold the scoring tool against the wallpaper and move it in a circular motion to create holes.
- Be gentle to avoid damaging the drywall beneath the wallpaper.
Using Water or a Wallpaper Removal Solution
After scoring the wallpaper, you can choose between using plain warm water or a wallpaper removal solution:
- If using water, fill a spray bottle with warm water.
- If using a wallpaper removal solution, follow the manufacturer’s instructions to mix it with warm water in a spray bottle.
Spray the solution generously onto the wallpaper, focusing on one section at a time. Allow it to sit for about 15-20 minutes to soften the wallpaper adhesive.
Removing the Wallpaper
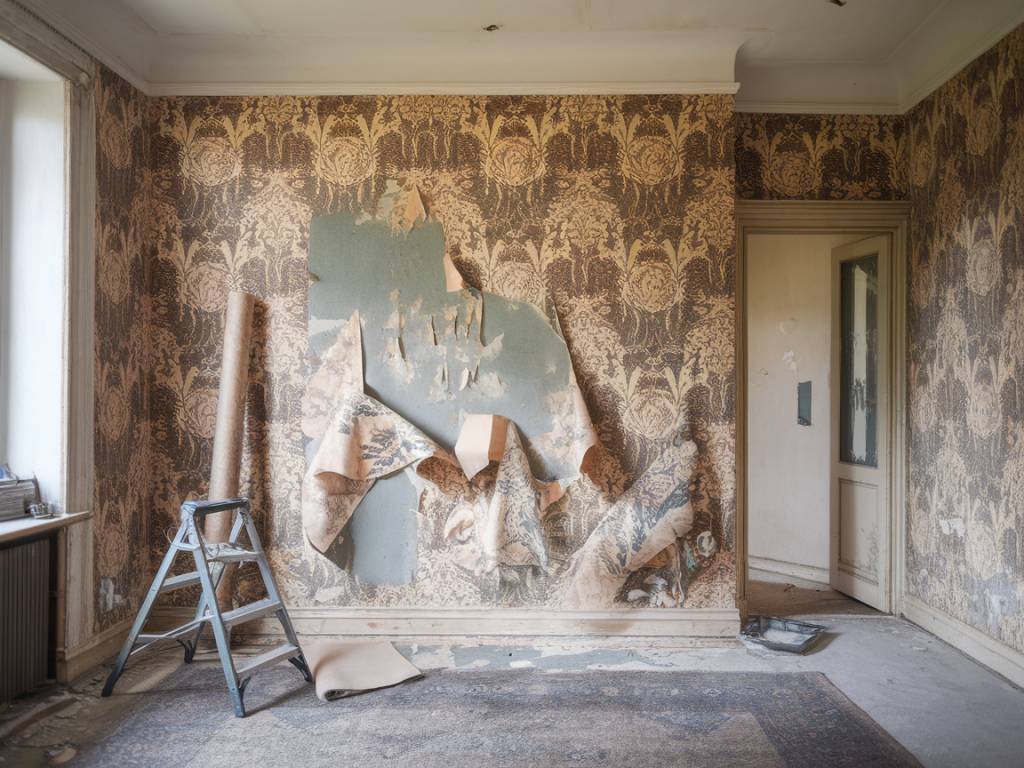
Once the adhesive has softened, use a scraper or putty knife to gently lift the edges of the wallpaper. Start at the bottom and work your way up:
- Insert the scraper under the edge of the wallpaper and carefully lift it away from the wall.
- Continue to spray additional solution if needed to keep the wallpaper moist.
- Work in small sections to avoid overwhelming yourself.
For stubborn areas, a wallpaper steamer can be highly effective. Hold the steamer against the wallpaper for a few seconds to further soften the adhesive before scraping.
Cleaning and Repairing the Walls
With the wallpaper removed, it’s time to clean and repair the walls to ensure a smooth surface for painting:
- Use a sponge or cloth soaked in warm water to wipe down the walls and remove any remaining adhesive residue.
- Inspect the walls for any damages or imperfections and use a drywall patch and repair kit to fix them.
- Allow the patched areas to dry completely before sanding them smooth with fine-grit sandpaper.
Priming the Walls
Priming the walls is an important step before applying paint:
- Choose a high-quality primer that is suitable for your wall type.
- Apply the primer evenly across the entire surface using a roller or paintbrush.
- Allow the primer to dry according to the manufacturer’s instructions.
Painting the Walls
With the walls prepped and primed, you’re now ready to paint:
- Select a paint color and finish that suits your aesthetic preferences.
- Use painter’s tape to protect areas such as trim and baseboards.
- Apply the paint using a paintbrush for the edges and a roller for larger areas.
- Allow the first coat of paint to dry before applying a second coat for optimal coverage.
Proper preparation and careful execution are the keys to successfully removing old wallpaper and preparing your walls for painting. By following these steps, you can ensure a smooth and beautiful finish that will enhance the look of your home.

