

Understanding the Basics of Faucet Replacement
Replacing an old bathroom faucet might seem like a daunting task, but with the right tools and steps, it’s a project that can be completed by even a novice DIYer. Understanding the basics of faucet replacement will save you both time and money, not to mention the satisfaction of giving your bathroom a fresh, new look. In this guide, we’ll walk you through the process in five simple steps. Before you begin, make sure you have all the necessary tools and materials, including a new faucet, a basin wrench, plumber’s putty, and Teflon tape.
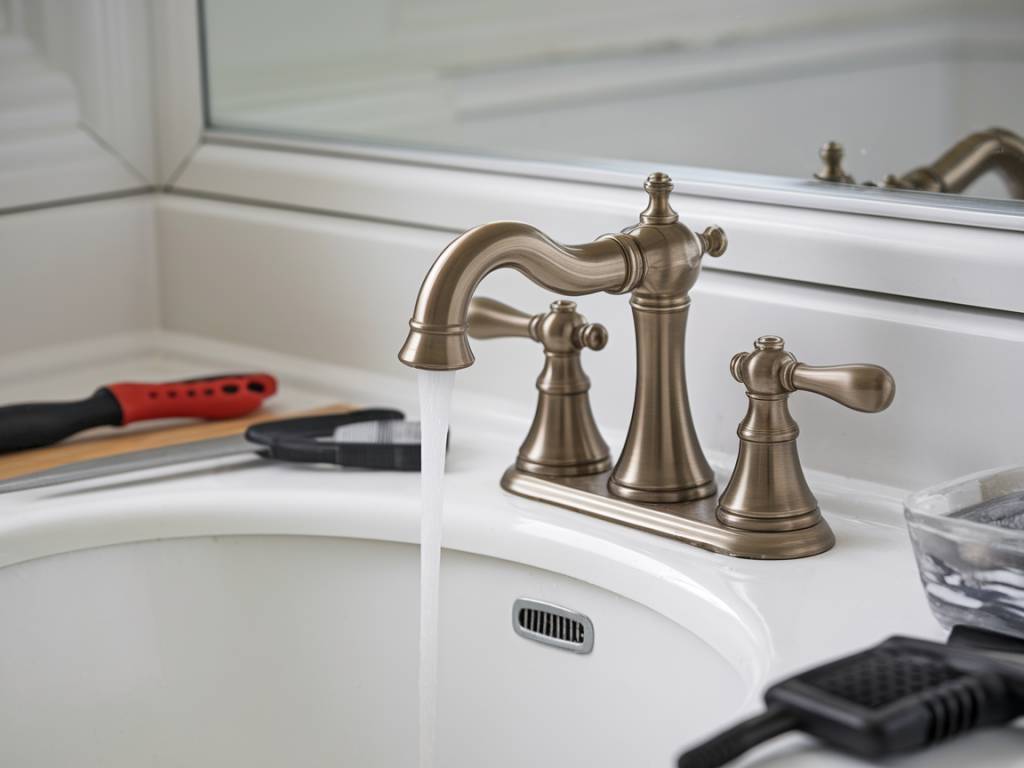
Gathering the Necessary Tools and Materials
Before diving into the physical work, it’s essential to gather all the tools and materials you’ll need for the job. This ensures that you won’t need to pause mid-task to grab something you forgot. Typically, you’ll need the following:
- New faucet
- Basin wrench
- Adjustable wrench
- Screwdriver (Phillips and flat-head)
- Plumber’s putty
- Teflon tape
- Bucket or container
- Cleaning cloths
Having these tools ready will make the project proceed smoothly and efficiently. Now, let’s get into the actual steps of replacing your old bathroom faucet.
Step 1: Turn Off the Water Supply
The first and most crucial step is to turn off the water supply to prevent any water damage or flooding. Locate the shut-off valves underneath the sink and turn them clockwise until they are closed. If for some reason you can’t find or operate the shut-off valves, turn off the main water supply to your home.
Next, turn on the faucet to relieve any remaining water pressure and to ensure that no water comes out while you are working. Place a bucket or container under the sink to catch any residual water that might drip when you disconnect the supply lines.
Step 2: Remove the Old Faucet
With the water supply off, you can now begin to remove the old faucet. Using an adjustable wrench or basin wrench, disconnect the water supply lines from the faucet. Be prepared for a small amount of water to drip out.
Once the supply lines are disconnected, look underneath the sink to locate the mounting nuts holding the faucet in place. Use your basin wrench to loosen and remove these nuts. After the nuts are removed, carefully lift the old faucet out from the top of the sink. If there is any remaining putty or sealant, clean it off with a cloth and a gentle cleaner.
Step 3: Prepare the Sink for the New Faucet
Before installing the new faucet, you need to prepare the sink. Ensure that the faucet mounting area is clean and free of old putty, sealant, or grime. This will help ensure a tight seal and proper installation of the new faucet.
If your new faucet includes a gasket or rubber seal, place it in the appropriate position on the sink. Otherwise, apply a small bead of plumber’s putty around the base of the new faucet. This putty will help create a watertight seal once the faucet is installed.
Step 4: Install the New Faucet
Now it’s time to position the new faucet into the mounting holes on the sink. Make sure the faucet is properly aligned and sits flush against the sink surface. From underneath the sink, screw on the mounting nuts to secure the faucet in place. Use your basin wrench to tighten these nuts adequately, ensuring the faucet is stable and doesn’t move.
Next, attach the water supply lines to the new faucet. Wrap the threads of each connection with Teflon tape to ensure a watertight seal. Use an adjustable wrench to tighten the connections, but be cautious not to overtighten and damage the threads.
Step 5: Turn the Water Back On and Test for Leaks
With the new faucet securely installed, the final step is to turn the water back on and test for leaks. First, make sure the faucet handles are in the “off” position. Slowly turn on the shut-off valves under the sink or the main water supply if you had to turn it off.
Gradually turn on the faucet and let the water run for a few minutes. Check underneath the sink at all connection points to ensure there are no leaks. If you notice any leaks, turn off the water and tighten the connections as needed. Once you’re confident there are no leaks, clean up your work area and admire your newly replaced faucet.
Tips for a Smooth Faucet Replacement
Replacing a bathroom faucet can be straightforward if you keep a few tips in mind:
- Read the instructions that come with your new faucet to ensure you understand the specific steps and components involved.
- If your sink has a drain stopper assembly, consider whether it needs to be replaced as well. Many new faucets come with matching drain stoppers.
- Consider taking a photo of your current setup before removal. This can serve as a reference during installation.
- If you encounter problems or feel unsure at any point, don’t hesitate to consult a professional plumber.
By following these steps and tips, you can replace your old bathroom faucet with confidence. Not only does this improve the functionality and aesthetics of your bathroom, but it also provides a sense of accomplishment for completing a DIY project.