Shelving units are a practical and stylish way to maximize storage space in any room of your home. Whether you’re looking to organize your kitchen, living room, garage, or home office, installing shelving units can help you keep things tidy and accessible. This guide will walk you through the steps to install shelving units efficiently and effectively, ensuring you make the most of your available space.
Assess Your Storage Needs
Before you start installing shelving units, it’s essential to assess your storage needs. Determine what items you need to store and how much weight the shelves will need to support. This will help you choose the right type of shelving material and design for your space. Additionally, consider the style and aesthetic of your room to ensure the shelving units complement the overall look.
Choose the Right Shelving Units
There are various types of shelving units available, each with its benefits and drawbacks. Here are some common options:
- Floating Shelves: These are mounted directly to the wall with no visible brackets, giving a clean and modern look. They’re ideal for lighter items like books, picture frames, and decorative pieces.
- Bracket Shelving: These shelves use visible brackets for support, providing a sturdy option for heavier items. Bracket shelves are versatile and can be used in various settings.
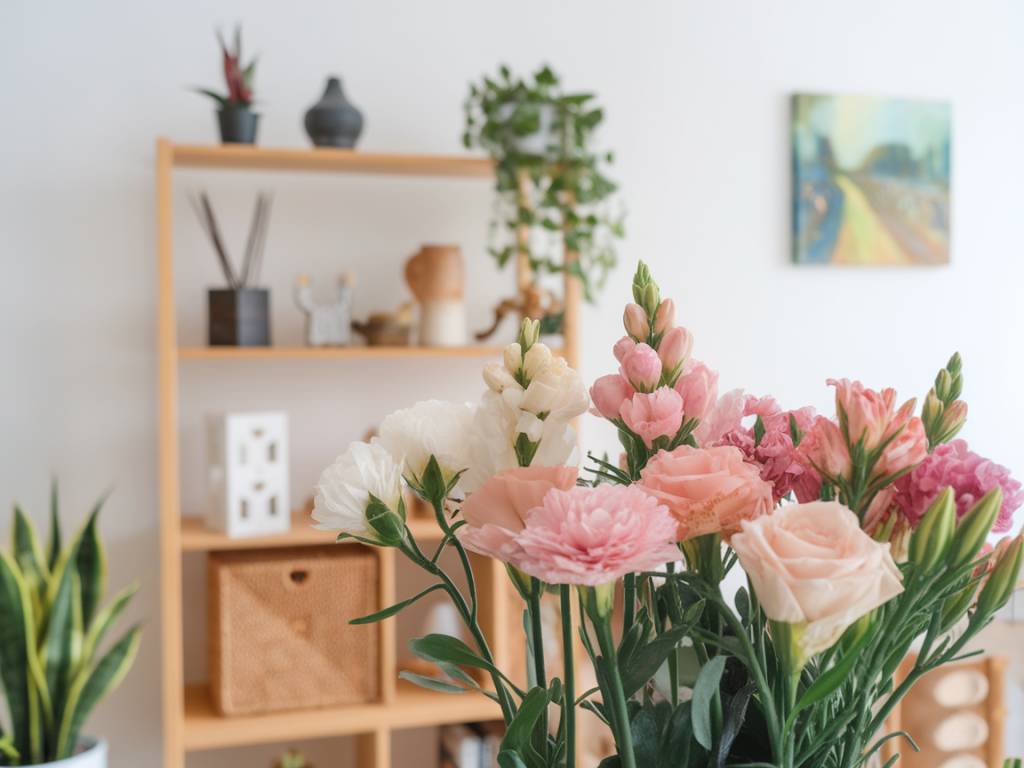
- Freestanding Shelving Units: These do not require wall mounting and can be easily moved. They are perfect for flexible storage solutions and can be used in any room.
- Built-in Shelving Units: Custom-built to fit your space, these shelves offer a seamless look and can be tailored to your specific storage needs. They require professional installation but are highly functional and aesthetically pleasing.
Gather Your Tools and Materials
Before you begin the installation process, gather the necessary tools and materials. Here’s a basic list of what you might need:
- Shelving units and brackets
- Measuring tape
- Level
- Screwdriver or drill
- Screws and wall anchors
- Pencil
- Stud finder (if mounting on a wall)
- Safety goggles and work gloves
Having everything on hand will make the installation process smoother and more efficient.
Measure and Plan
Accurate measurements are crucial for a successful shelving installation. Follow these steps:
- Measure the Space: Use a measuring tape to determine the height, width, and depth of the area where you plan to install the shelves. Make note of these measurements.
- Plan the Layout: Sketch a rough layout of where you want the shelves to go. Consider the spacing between shelves and the height at which you want them to be installed. If you’re installing multiple shelves, ensure they are evenly spaced.
- Locate Studs: If you’re mounting shelves on a wall, use a stud finder to locate the studs. Mark their positions with a pencil. Mounting shelves into studs provides the most secure support.
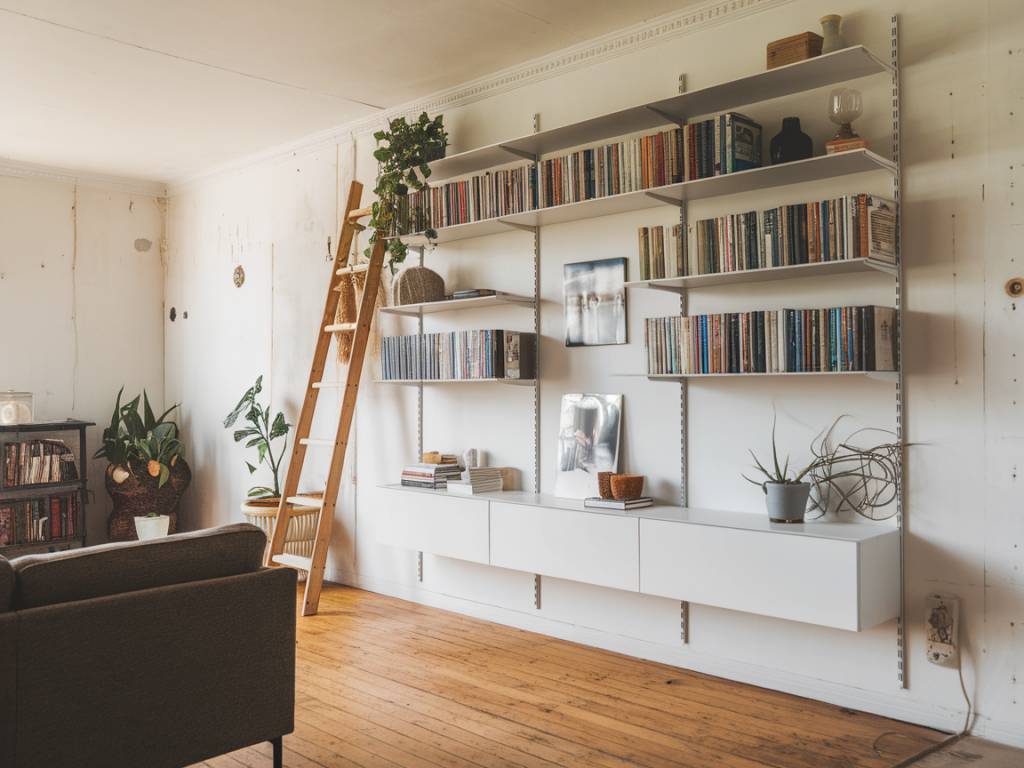
Install Wall-Mounted Shelving Units
For wall-mounted shelves, follow these steps:
- Mark the Bracket Locations: Based on your layout plan, mark the positions of the brackets on the wall. Ensure the marks are level using a level tool.
- Drill Pilot Holes: Drill pilot holes at the marked positions. If you’re not securing the brackets into studs, insert wall anchors into the holes for additional support.
- Attach the Brackets: Using screws, attach the brackets to the wall. Double-check that they are level and securely fastened.
- Place the Shelves: Once the brackets are securely in place, place the shelves onto the brackets. Ensure the shelves are level and stable.
- Secure the Shelves: For added stability, you can secure the shelves to the brackets with screws, if the design allows.
Install Freestanding Shelving Units
Freestanding shelving units are easier to install as they don’t require wall mounting. Follow these steps:
- Assemble the Shelving Unit: Follow the manufacturer’s instructions to assemble the shelving unit. Ensure all parts are securely fastened.
- Place the Unit: Position the assembled unit in the desired location. Use a level to ensure the shelves are even.
- Secure the Unit: If the unit is tall or unstable, consider securing it to the wall using brackets or straps to prevent tipping.
Install Built-in Shelving Units
Built-in shelving units are more complex and may require professional installation. If you choose to do it yourself, follow these general steps:
- Measure and Cut Materials: Measure your space and cut the shelving materials to fit. Use a level and measuring tape to ensure accuracy.
- Build the Frame: Construct the frame of the shelving unit using wood or metal. Secure the frame to the studs in the wall for stability.
- Install the Shelves: Attach the shelves to the frame. Ensure they are level and securely fastened.
- Finish the Installation: Add any finishing touches, such as trim or paint, to achieve the desired look. Ensure all parts are secure and stable.
Tips for Maximizing Storage Space
To make the most of your shelving units, consider these tips:
- Use Adjustable Shelves: Adjustable shelves allow you to customize the spacing to fit different items, maximizing storage flexibility.
- Incorporate Storage Bins and Baskets: Using bins and baskets can help keep smaller items organized and easy to find.
- Label Everything: Labeling shelves and bins can make it easier to locate items and maintain organization.
- Utilize Vertical Space: Take advantage of vertical space by installing shelves all the way up to the ceiling. Use a step ladder to access higher shelves.
- Optimize Corner Spaces: Corner shelves or units can make use of otherwise wasted space, providing additional storage.
Maintaining Your Shelving Units
Regular maintenance will keep your shelving units in good condition. Here are some maintenance tips:
- Check for Stability: Periodically check that shelves and brackets are secure, especially if you store heavy items.
- Clean Regularly: Dust and clean the shelves regularly to maintain a neat appearance. Use a damp cloth and mild cleaner for thorough cleaning.
- Avoid Overloading: Do not overload shelves beyond their weight capacity. This can cause damage or create a safety hazard.
- Organize Seasonally: Reevaluate your storage needs each season and reorganize your shelves accordingly. This can help you stay organized year-round.
Installing shelving units is a practical way to maximize storage space in your home. By following these steps and tips, you can create an organized and efficient storage system that meets your needs and complements your living space.