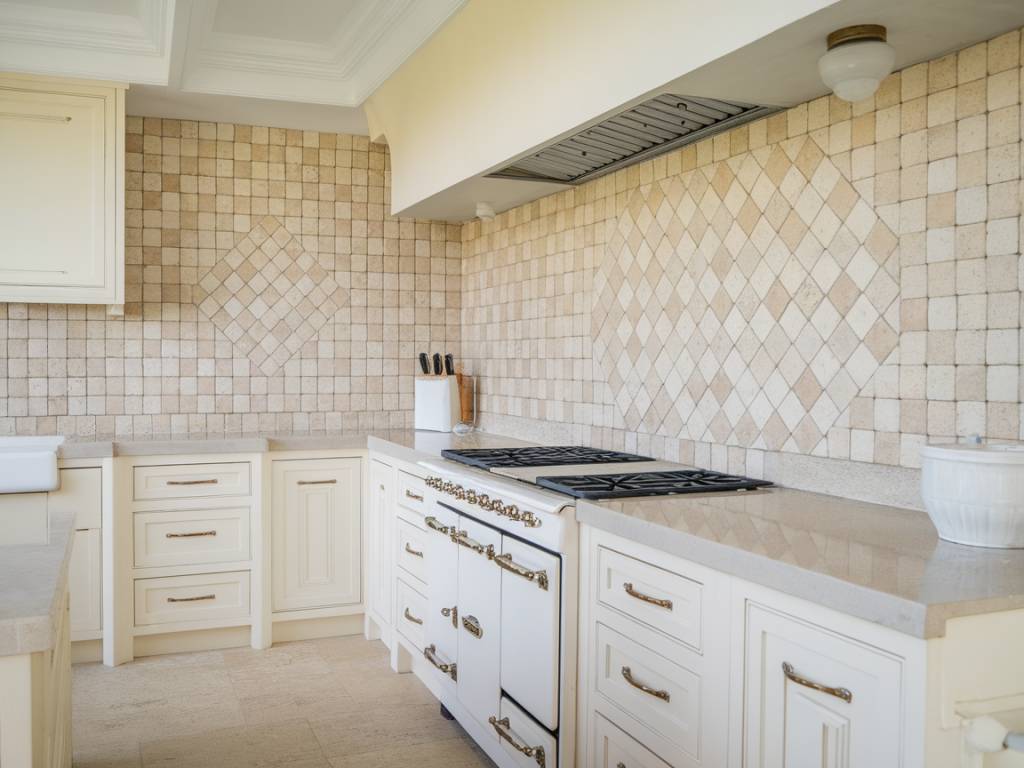
Installing a new tile backsplash in your kitchen is a great way to enhance both the aesthetic appeal and functionality of your cooking space. A tile backsplash can protect your walls from splashes and spills while adding a touch of personal style to your kitchen. This comprehensive guide will walk you through the process, step-by-step, ensuring you have all the information you need to successfully complete your project.
Gather Your Materials and Tools
Before you start, it is essential to gather all the necessary materials and tools. Having everything at your fingertips will make the installation process smoother and more efficient.
- Tile (choose your preferred style and size)
- Tile adhesive or thin-set mortar
- Tile spacers
- Grout
- Sealer (optional, depending on the tile type)
- Tile cutter or wet saw
- Tape measure
- Level
- Notched trowel
- Grout float
- Sponge
- Bucket
- Pencil
- Protective gear (gloves, safety glasses)
Prepare the Surface
Proper surface preparation is critical for a durable and attractive tile backsplash. Follow these steps to ensure your wall is ready for tiling:
- Clean the Wall: Remove any grease, dirt, or old adhesive from the wall. Use a degreaser if necessary.
- Repair and Smooth the Surface: Fill any holes or cracks with spackling paste and sand the area smooth once it’s dry.
- Prime the Wall (if necessary): Some walls may require a primer to ensure the adhesive sticks properly.
Plan Your Layout
Planning your tile layout is crucial to minimize waste and ensure a professional-looking finish. Measure the area you plan to tile and use these measurements to determine the starting point and layout pattern:
- Find the Center: Mark the center point of the wall horizontally and vertically. This will help you align your tiles symmetrically.
- Dry Fit the Tiles: Lay out the tiles on the countertop or floor before applying adhesive. This allows you to visualize the pattern and make necessary adjustments.
- Use Tile Spacers: Place tile spacers between each tile to ensure consistent spacing and grout lines.
- Mark Cut Lines: Identify and mark tiles that will need to be cut to fit around outlets, switches, and edges.
Apply the Adhesive
With your layout planned, it’s time to apply the adhesive and start placing the tiles:
- Mix the Adhesive: Follow the manufacturer’s instructions to mix the adhesive or thin-set mortar to the right consistency.
- Apply Adhesive to the Wall: Using a notched trowel, spread the adhesive on the wall in small sections to prevent it from drying out before you place the tiles.
- Create Grooves: Use the notched edge of the trowel to create grooves in the adhesive. This will help the tiles adhere more securely.
Install the Tiles
Now that the adhesive is ready, you can start installing your tiles. Work carefully to ensure your tiles are aligned properly and securely placed:
- Start from the Center: Begin placing tiles at the center point you marked earlier. Press each tile firmly into the adhesive, using a slight twisting motion.
- Use Spacers: Insert tile spacers between each tile to maintain consistent spacing for grout lines.
- Check Level and Alignment: Use a level to ensure your tiles are straight and evenly spaced. Adjust as needed before the adhesive sets.
- Cut Tiles as Necessary: Use a tile cutter or wet saw to cut tiles to fit around outlets, switches, and edges. Always wear protective gear when cutting tiles.
Apply the Grout
After the adhesive has set (usually 24 hours), it’s time to apply the grout. Grouting fills the spaces between the tiles and adds a polished finish to your backsplash:
- Mix the Grout: Follow the manufacturer’s instructions to mix the grout to the right consistency.
- Apply Grout: Use a grout float to spread grout over the tiles, pressing it into the spaces between them. Work in small sections to prevent the grout from drying out.
- Remove Excess Grout: Hold the grout float at a 45-degree angle and scrape off excess grout from the tile surfaces.
- Clean the Tiles: After the grout has set for about 15-30 minutes, use a damp sponge to wipe away any grout residue from the tile surfaces. Rinse and wring out the sponge frequently.
Seal the Grout and Tiles
Sealing your grout and tiles can help protect them from stains and moisture. This step is particularly important for porous tiles like natural stone:
- Choose the Right Sealer: Select a sealer appropriate for your tile and grout type. Some tiles, like porcelain or ceramic, may not require sealing.
- Apply the Sealer: Follow the manufacturer’s instructions to apply the sealer evenly over the grout lines and tiles, if necessary.
- Remove Excess Sealer: Use a clean, dry cloth to wipe away any excess sealer from the tile surfaces.
Final Touches
With your new tile backsplash installed, you can now focus on the finishing touches to complete your project:
- Reinstall Outlet Covers: Replace any outlet and switch covers you removed during the installation process.
- Caulk Edges: Apply a bead of caulk along the edges of the backsplash where it meets the countertop and walls. This will create a clean, finished look and help prevent moisture from seeping behind the tiles.
- Clean the Backsplash: Give your backsplash a final wipe-down with a damp cloth to remove any remaining dust or debris.
- Admire Your Work: Step back and admire your new tile backsplash! You’ve successfully completed a DIY project that enhances the beauty and functionality of your kitchen.
Installing a new tile backsplash in your kitchen is a rewarding project that can be completed with some patience and attention to detail. By following this step-by-step guide, you can achieve professional-looking results and enjoy a stylish, functional kitchen centerpiece for years to come.

